What to Do with a Finished Diamond Painting — 9 Ideas Worth Your Effort
The last diamond has been pressed onto the fabric. The work glistens before you, and you feel that familiar mix of pride and emptiness — what now?
Many hobbyists, after some contemplation, decide to roll the fabric up and move it to the back of a cupboard. It's a safe decision, but not a very good one. You've spent hours (perhaps tens) on this work, and it deserves a better fate.
In this article, I go through nine ways you can give your finished diamond painting a new life. Some are classics, some are more surprising. Each idea is summarized as a solution — deeper technical instructions can be found in our special guides.
1. Frame and Hang on the Wall
Framing is popular for a reason: it transforms a craft project into a work of art. Framing a diamond painting differs from a regular painting because the height of the diamonds requires its own approach.
A few quick tips: - Choose a frame without glass — glass can flatten the diamonds and reduce shine - Stretch the fabric on a stretcher frame or attach it to a backing board before framing - Consider varnishing before framing if you want extra protection
If you want more detailed steps, read how to frame a finished work neatly. It covers the framing steps from start to finish.

2. Protect with Varnish Before Displaying
Varnishing is not mandatory, but it's a sensible extra step, especially for works going on the wall. Varnish keeps the diamonds in place and protects from dust, but it slightly affects the shine — so the choice is personal.
If you want to know more about when diamond work should be varnished and when not, read when varnishing is truly beneficial. Varnish and other suitable tools for finishing can be found in diamond painting supplies for finishing.
3. Create a Gallery Wall from Multiple Works
If you've accumulated multiple finished works, they work better together than separately. A gallery wall is a way to build an entire art collection from your own diamond paintings.
Here's how to plan a gallery wall:
- Choose one wall — preferably in the living room, hallway, or study
- Mix sizes — one large centerpiece and smaller ones around it add dynamics
- Keep the color scheme consistent — or choose contrast deliberately
- Leave space — 5–10 cm between frames gives the whole an airy feel
- Try it on the floor first — arrange the works on the floor before drilling holes
Tip: you can combine diamond paintings with other works — photos, posters, or framed paint-by-number works. A mix often looks more interesting than a series of similar frames.
4. Give as a gift
Diamond painting is a surprisingly good gift because it cannot be bought in a store — it is handmade and it shows. Especially effective are:
- Animal themes — a portrait of a dog or cat for an animal-loving friend
- Landscapes — a decorative piece suitable for a home wall
- Custom works — make a diamond painting from the recipient's own photo and give it as a gift
If you want the gift to be even more personal, you can order a diamond painting made from your own photo and make it a truly unique artwork.
5. Use in decor in other ways besides on the wall
Hanging on the wall is not the only option. Diamond paintings can be used in decor in many other ways:
- Lean on a shelf — without a frame or in a light frame, lean against the wall on top of a bookshelf
- On an easel — a small piece looks stylish on a tabletop easel
- Under a tabletop — a diamond painting placed under a glass table is a surprising eye-catcher
This works especially well if you want to change the display seasonally and not permanently tie each piece to one place.
6. Store properly if you don't hang it immediately
Sometimes the right moment for displaying is not right now. Maybe you're waiting for a frame, maybe the right place. The most important thing is to store the piece so that it does not get damaged.
- Roll the canvas with the diamond side outwards (not inwards — the diamonds will come off)
- Or store it flat, on a smooth surface between books or cardboard
- Do not fold — the fold line will remain permanently visible
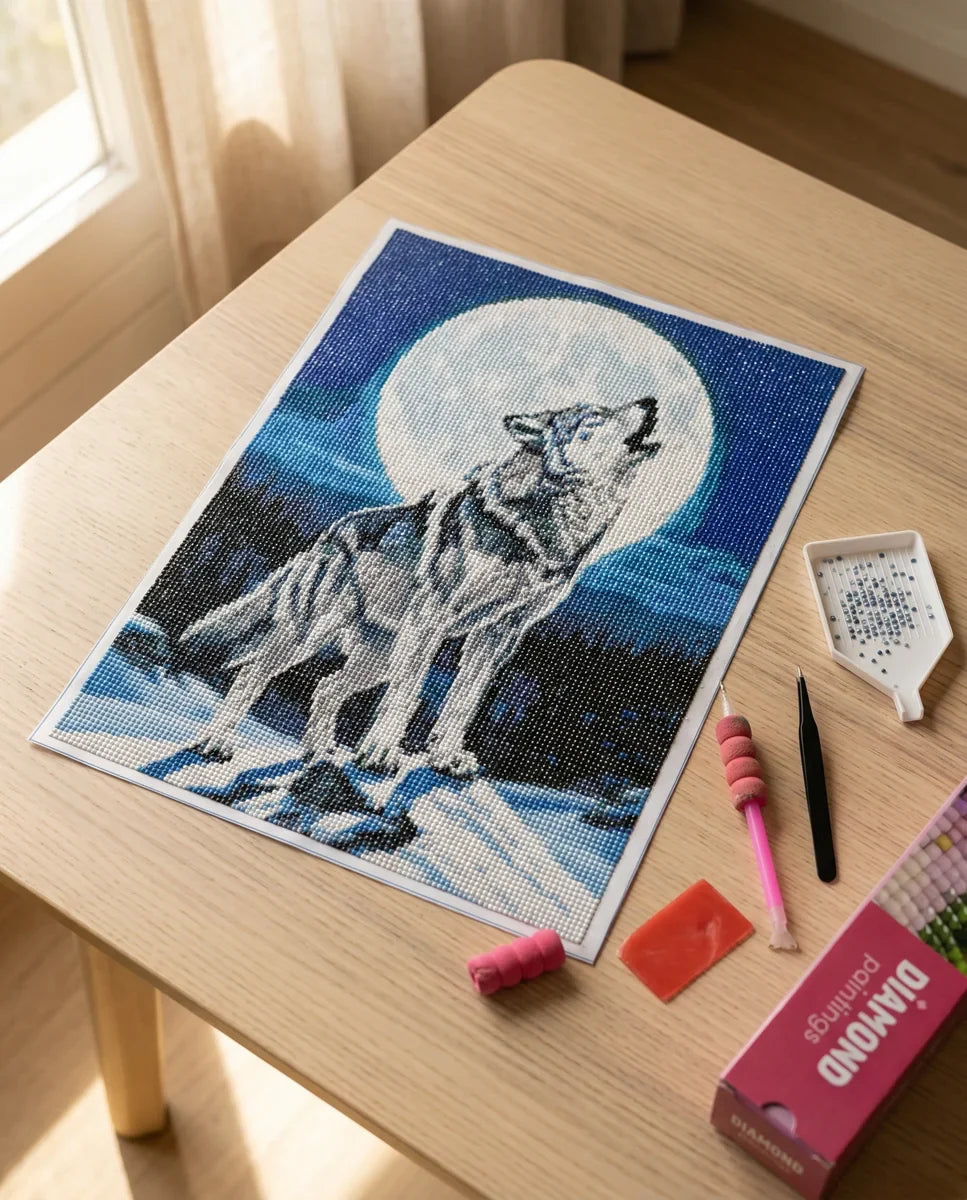
7. Photograph and share on social media
Before the piece goes on the wall or into wrapping, take a good photo of it. The diamond painting community is active on social media, and sharing a finished piece is part of the joy of the hobby.
Tips for a good photo: - Shoot in natural light, at an angle — this makes the diamonds shine best - Avoid direct flash — it makes the picture flat - Take both an overall photo and a close-up of details
8. Recycle creatively
If the finished piece doesn't seem suitable for the wall, it doesn't mean it's useless. Smaller works can be utilized in many ways:
- Card decoration — cut a small area and glue it to a card
- Box lid — cover a wooden or cardboard box with a diamond painting
- Bookmark — a narrow strip works surprisingly well
These are especially suitable for practice pieces or small diamond painting stickers that were never intended to be framed.
9. Start the next project
This is honestly the best tip. If finishing feels like a difficult decision, start a new project in the meantime. The old work won't disappear — and sometimes the right purpose is found only when the shelf has accumulated a third or fourth finished work.
Browse diamond painting sets for your next project and find a new subject to work on. Or if you want something truly personal, try make a diamond painting from your own picture.

How do you choose the right option?
There is no one right answer — it depends on the work, the situation, and you. But here are a few guidelines:
| Situation | Best option |
|---|---|
| The work is large and magnificent | Frame and hang on the wall |
| You have several completed works | Gallery wall |
| The work is made with a specific person in mind | Give as a gift |
| You are not sure yet | Store properly and revisit later |
| Small work or exercise | Recycle creatively |
| You need motivation | Start the next project |
Common mistakes with a finished diamond painting
These are worth avoiding:
- Rolling with the diamond side inward — removes diamonds and leaves dents
- Varnishing without need — varnish changes the shine, so use only if there's a reason (going on the wall, in children's hands)
- Direct sunlight — UV light fades colors over time, don't hang directly next to a window
- Framing with glass — glass flattens the diamonds and removes the 3D effect
- Waiting too long — the longer the canvas stands, the more dust and glue drying occurs
Frequently Asked Questions
Should a diamond painting be varnished before framing?
Answer: Not necessarily. Varnishing provides extra protection and keeps loose diamonds more secure, but it slightly changes the surface shine. If the work is going on a protected wall, framing without varnishing works just fine. Read more in the article should a finished diamond work be varnished.
How do I store a finished diamond painting if I don't frame it immediately?
Answer: The best way is to keep the work flat and even — for example, between two pieces of cardboard or in a large folder. If you have to roll it, always roll with the diamond side out. Never fold the canvas.
Can a finished diamond painting be given as a gift?
Answer: Absolutely. A handmade diamond painting is a personal and unique gift. Animal themes, landscapes, or a diamond work made from a personal photo work especially well, where the subject is genuinely meaningful to the recipient.
Does a diamond painting last for years on the wall?
Answer: Yes, when it is properly protected. Avoid direct sunlight to preserve the colors and shine. Varnishing and framing further enhance durability. Resin diamonds used in quality sets do not fade in normal indoor lighting.
How many diamond paintings are needed for a gallery wall?
Answer: Three is enough to make a good start. One larger piece in the center and two smaller ones on the sides is a classic arrangement. You can add to the wall as new works are completed — a gallery wall is an eternal project.
